After all that blogging about our vacation in France, it’s time to get back into the regular swing of things. It was good to get out of the house and do some shooting again. Furthermore, it was an excuse to try out my new Olympus micro four thirds camera, the OMD EM-5 and a recently purchased carbon fibre tripod (very light weight). I grabbed the new camera, some lenses and the tripod and drove out to Bluffer’s Park, just east of Toronto on the shores of Lake Ontario. Time to try EM-5 out and see if it lives up to the hype.

I bought the EM-5 because of my very positive experience using the Olympus Pen EP-3, which provides the right combination of light weight, portability, ergonomics, features, lenses and image quality. I likened it to a poor man’s Leica rangefinder. Moreover, the EP-3 is just plain fun to use. After returning from France, I was tempted to get the EM-5 , which is touted as a more “pro” camera and is weatherproof too. The EM-5 has received countless positive reviews and I took the plunge and bought one. So far so, good, it’s a terrific camera.
October 21 was one of those perfect fall days in southern Ontario, the kind of day where it feels like fall, it is sunny, not too cold and you just want to get out there and enjoy it. I could also tell that the sky would serve up some great colours at sunset. I really wanted to capture those colours and more.
Geek alert! If you are not a photo geek and want a crash course in HDR photography, read the section below. If you don’t care, then just skip to the gallery.
Since I had a tripod with me, it made sense to shoot HDR photos, which means High Dynamic Range. It is a technique where three or more photos are taken in rapid succession to maximize shadow and highlight range. Each photo has its exposure offset by a small amount, say 1/3 to 1 f-stop, thereby creating a set of photos where some are underexposed and others are over exposed. Specialized software is then used to merge, stack and process the photos to extract the full tonal range and allow creative tweaking of color, exposure, tones, saturation and more. Many of the images below were made using the HDR technique. I opted to use 5 combined exposures to make those images.
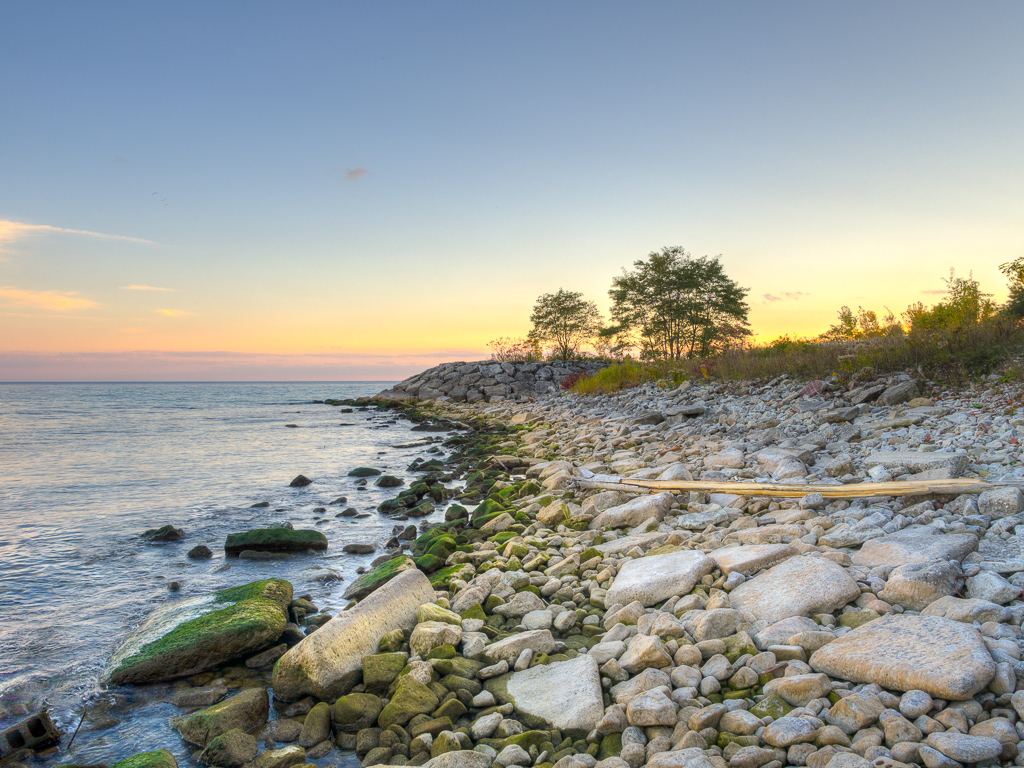
The sequence below is an example of how I made the HDR photos. From the tripod, I took 5 rapid succession shots using different exposures, a technique known as bracketing. The shot on the left is underexposed by 2 f-stops and the one furthest to the right is over exposed by 2 f-stops.

The middle image is how the camera would normally expose the shot. The default metering lacks impact since the camera tries to make a compromise between capturing shadows and highlights, so it looks dull and flat. The point in taking all these photos is to have all the tones between extreme highlights and shadow details. Using HDR software, they were all combined to create the final image below. I took some artistic license to produce an effect I liked. With HDR photography you can go from creating an image similar to how the eye saw the scene right up to some very surreal effects.
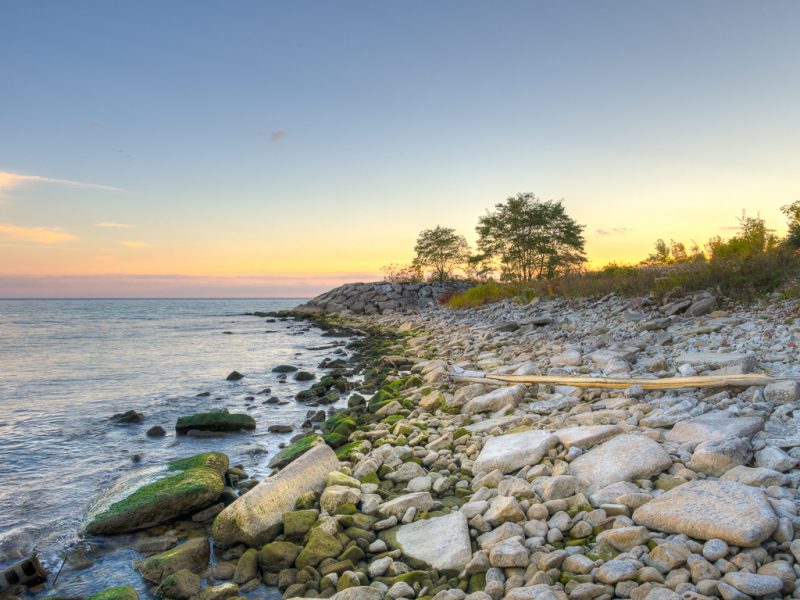
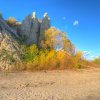
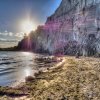
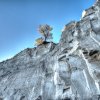
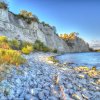
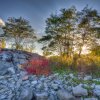
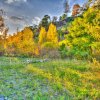
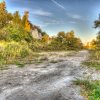
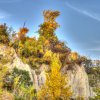
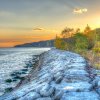
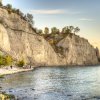
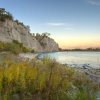
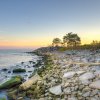
In the proceeding gallery, only the first few photos were done straight out of the camera, the rest are HDR. I’m still learning this technique and look forward to improving my shooting and processing skills.









Can I ask question regarding HDR on the EM5? Other than setting up bracketing (say 5 shots +_1 EV) and 9fps is there anything one needs to do on the camera? One site mentioned needing to set the camera so it does not compensate for the exposure changes — but i wonder why would there be bracketing int he first palce if one needs to set a mode to use it? Anyway, any info would b appreciated.
Cool looking photos!
Thanks, Danny
Hello Danny, thank you for your question and for the compliment on the photos. You are on the right path to get HDR working on the EM5, or virtually any other camera that has auto-bracketing. You need not worry about the camera compensating for exposure changes. After all, that is a moot point with auto-bracketing being fired off at 9 fps, or even 5 fps. In a natural environment, the amount of light will not change in fractions of a second.
I would recommend three more settings to ensure success with HDR.
1) Use the self-timer or remote control to minimize any chance of camera shake.
2) If the camera is on a tripod, turn off the image stabilization.
3) It is a good idea to lock the white balance to a predefined setting or set it from a white card. Sometimes exposure bracketing can shift white balance. Ideally, you want the same white balance for all images in an HDR stack. If you shoot RAW, you can set all the images in the exposure stack to the same white balance using Adobe Lightroom, etc.
Cheers,
Rob